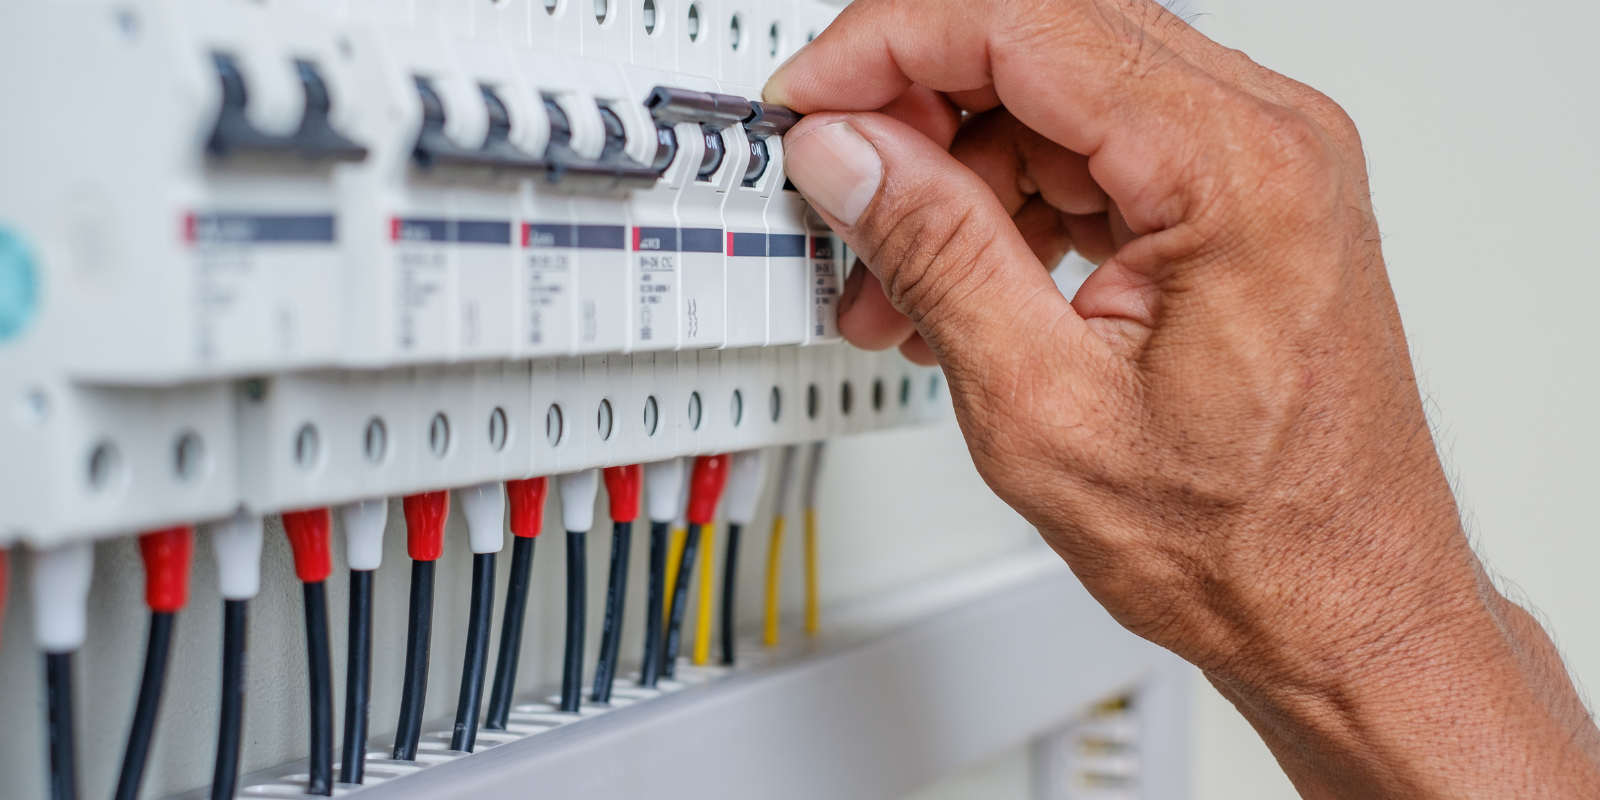
TRIPPED CIRCUIT BREAKER?
A tripping circuit breaker is one of the most common electrical faults electricians deal with — and one of the most misunderstood by homeowners. For sparkies, it’s a bread-and-butter fault that can tell you a lot about what’s going on in the circuit if you know how to read the signs.
In this post, we’ll break down what causes a circuit breaker to trip, how to test it step-by-step, and what you can do to fix the issue safely and efficiently under AS/NZS 3000 guidelines.
A circuit breaker’s main job is to protect the wiring — not the appliances. It automatically disconnects the supply when the current flow exceeds its rating, preventing overheating and potential fire hazards.
Each breaker is rated for a specific current (for example, 10A for lighting or 20A for power circuits usually). If more current flows than the breaker is designed for, it trips — simple as that.
Common Reasons a Breaker Trips
There are three main culprits:
-
Overload
-
Too many devices on one circuit.
-
Example: heaters, kettles, or dryers running together on the same power circuit.
-
The breaker trips because the current draw exceeds the breaker’s rated capacity.
-
-
Short Circuit (Active–Neutral or Active–Active)
-
A direct connection between conductors with little or no resistance.
-
This causes a massive current spike, and the breaker trips instantly.
-
Often caused by damaged cables, faulty plugs, or internal appliance faults.
-
-
Earth Fault (Active–Earth)
-
Current leaks to earth through a fault.
-
Depending on the circuit setup, this could trip the MCB or the RCD (if fitted).
-
Common in appliances with metal casings, damaged flex leads, or water ingress.
-
Step by Step: How to fault find a tripping breaker
Check your switchboard and note which breaker has tripped — lighting, power, hot water, etc. Labelled boards make this easy, but if not, you may need to trace the circuit manually.
Switch off or unplug everything on that circuit. Then reset the breaker.
-
If it stays on, start turning on or plugging in loads one by one.
-
If it trips again immediately — you’re likely dealing with a short or earth fault.
Before reaching for your tester, inspect visible points:
-
Look for burnt outlets, damaged flex cords, or signs of moisture.
-
Check fittings or junction boxes for loose terminations.
Use your test instruments to verify:
-
Insulation resistance between active, neutral, and earth.
-
Continuity of protective earthing conductors.
-
Polarity to ensure no wiring mix-ups.
A low insulation resistance reading (typically below 1 MΩ) indicates leakage or breakdown in insulation somewhere in the circuit.
If insulation tests pass, start testing between sections of the circuit (split ring circuits, separate rooms, or known load points). This helps pinpoint where the fault lies — e.g., a specific socket outlet or cable run.
Once the fault is identified — repair or replace the faulty component, retest, and confirm that the breaker holds under normal load conditions. Always re-check your Zs and verify disconnection times if any wiring changes are made.
Pro Tip from Fault Lab
If a breaker trips only under certain conditions (like at night, during rain, or when a specific appliance runs), it often points to intermittent faults — like moisture ingress, loose connections, or mechanical vibration.
Document your readings and test results. Tracking patterns helps you diagnose faster next time — a habit all great fault finders share.

A tripping circuit breaker isn’t just an inconvenience — it’s a signal that something’s wrong. Understanding why it trips and using a systematic approach to test, diagnose, and verify is what makes a professional electrician stand out.
If you’re serious about mastering fault-finding, grab a copy of The Fault Finder’s Bible: Electrical Edition or download our free fault flowcharts at faultlab.co — built by electricians, for electricians.